When it comes to protecting your home from water damage, two crucial elements play a vital role flashing tape and roof flashing. These components ensure that your roof remains watertight, preventing leaks and extending its lifespan. If you’re looking for reliable solutions for your roofing needs, understanding how these products work and where to find the best options is essential.
What is Flashing Tape?
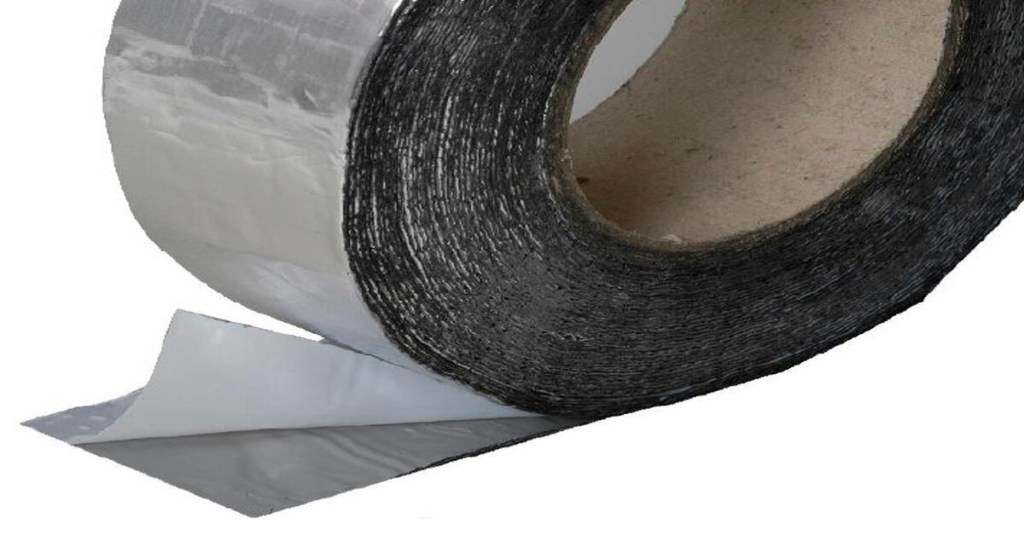
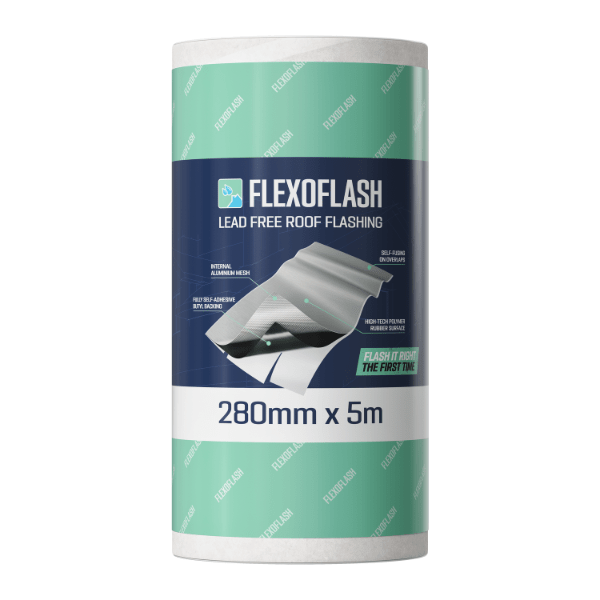
Flashing tape is a self-adhesive, waterproof tape designed to seal joints, seams, and other vulnerable areas on a roof. It provides an extra layer of protection against moisture penetration, ensuring that water does not seep into your home. Flashing tape is commonly used in construction, roofing, and window installations to enhance waterproofing.
Benefits of Flashing Tape:
- Easy to Apply – Simple to install without the need for special tools.
- Highly Flexible – Conforms to different surfaces, making it suitable for various roofing materials.
- Weather Resistant – Withstands harsh Australian weather conditions, including rain, UV rays, and temperature changes.
- Long-Lasting Protection – Provides a durable seal that prevents water ingress for years.
How to Apply Roof Flashing Tape: A Step-by-Step Guide
Applying flashing tape correctly ensures a watertight seal, preventing leaks and extending the life of your roof. Whether you’re reinforcing existing flashing or sealing gaps, follow these steps for a successful application.
Tools & Materials Needed:
- Roof flashing tape
- Utility knife or scissors
- Cleaning cloth
- Roofing primer (if required)
- Roller or hand pressure tool
Step 1: Prepare the Surface
Before applying flashing tape, ensure the surface is clean and dry. Remove dust, debris, and grease using a cloth. If necessary, use a roofing primer to enhance adhesion, especially on porous or rough surfaces.
Step 2: Measure and Cut the Tape
Unroll the flashing tape and measure the required length for the area you’re sealing. Cut the tape using a utility knife or scissors, allowing extra length for better coverage.
Step 3: Peel Off the Backing
Carefully peel back a small section of the release liner to expose the adhesive side of the tape. Avoid touching the sticky surface to maintain its effectiveness.
Step 4: Apply the Tape
Position the tape over the area, pressing it down firmly as you go. Smooth out any air bubbles or wrinkles to ensure full contact with the surface.
Step 5: Secure and Seal
Use a roller or apply firm hand pressure to ensure proper adhesion. Pay extra attention to edges and overlaps, making sure they are sealed tightly.
Step 6: Inspect and Test
Once applied, inspect the tape to ensure it fully adheres to the surface. If necessary, press down any loose edges or apply additional layers for extra protection.
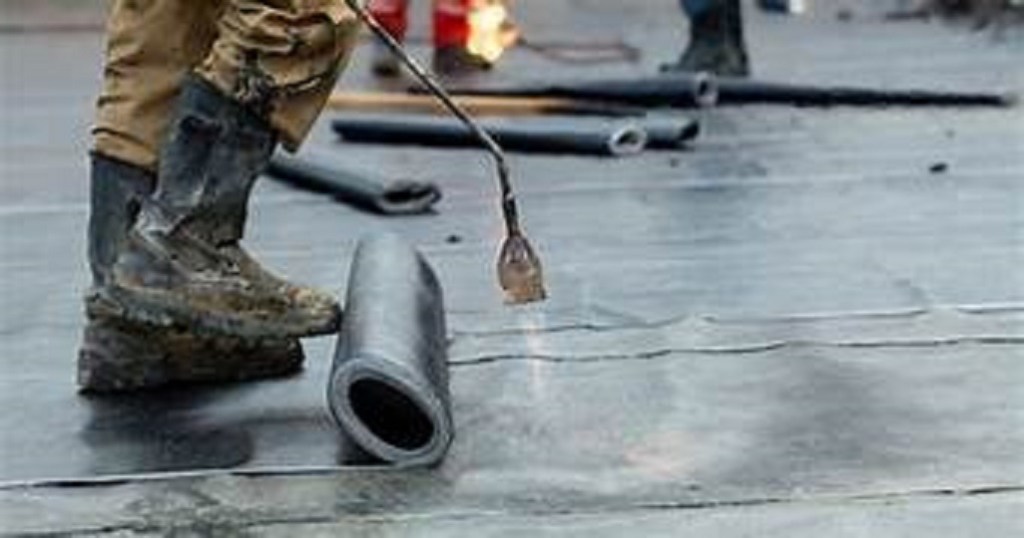
Understanding Roof Flashing
Roof flashing is a thin material, typically made of aluminum, steel, or copper, that directs water away from critical areas of your roof, such as chimneys, vents, skylights, and valleys. Proper roof flashing installation prevents leaks and structural damage by channeling water towards drainage systems.
Types of Roof Flashing:
- Step Flashing – Used where the roof meets a vertical wall to direct water away.
- Chimney Flashing – Prevents water from seeping into the gap between the chimney and the roof.
- Valley Flashing – Installed in roof valleys to guide water safely downwards.
- Drip Edge Flashing – Protects the edges of a roof from water damage.
Why You Need Both Flashing Tape and Roof Flashing
While traditional roof flashing is highly effective, flashing tape adds an extra layer of protection. Combining both solutions ensures maximum waterproofing and longevity for your roof. Flashing tape can reinforce metal flashing or serve as a standalone solution for smaller gaps and seams.
Key Benefits of Using Both:
- Double Protection – Layering flashing tape with metal flashing enhances water resistance.
- Seals Hard-to-Reach Areas – Flashing tape is ideal for corners, seams, and other small gaps.
- Cost-Effective Solution – Preventing leaks with proper flashing reduces long-term repair costs.
Conclusion
Investing in high-quality flashing tape and roof flashing is essential for maintaining a watertight, durable roof. Whether you’re building a new home or repairing an existing structure, choosing the right products will help prevent costly water damage.
